


Departments
Order

Family Memories
Store your photos like a pro. There are several ways to do this, but our favorite way keeps it simple.
Photos are moments frozen in time. They show where you’ve been, how you’ve lived and what happened through all your seasons. Things don’t stay the same for long—especially when babies are new, families are changing and today so quickly becomes yesterday. New technology makes documenting your family history easy. But saving those images for years takes some thought. Don’t chance having pictures vanish because of a damaged or missing phone or losing them when a computer crashes. Take our advice for organizing your keepsake photos.

The setup
Save yourself extra work by creating a storage system for your collection before you start importing picture files to your computer. With an easy-to-understand system suited to your needs, you won’t stress over your tech skills every time you want to upload photos. Our simple system works for a PC or a Mac.
First, open the Pictures folder on your computer. Pressing the Start button reveals Pictures in a list on most PCs and it is found in the Users folder on Macs. Within Pictures, create folders for every year that you have photos to organize. Add three to five folders for future years. Next, create a subfolder for every month within every year, using a MM-YYYY format (ex: 01-2014). The computer sorts folders numerically, so they will stay in chronological order. Within each month subfolder, create subfolders for large events, such as Laura’s Party or Tyler’s Baptism. Inside each event folder, create three subfolders labeled Originals, Prints and Rejects.

Download our tracking document to help you stay up-to-date >
Consolidate
Import images from all of the devices where they are currently stored. This may include your camera, cell phone, iPad, flash drives, memory cards, computers or other devices.
Edit them down
Sort images into the Originals, Prints and Rejects subfolders. Test shots and problem shots, such as those that are too blurry, can be deleted. But don’t toss too freely. You may want to keep a picture of your aunt’s dog in the Rejects folder for now. It may gain sentimental value over time.
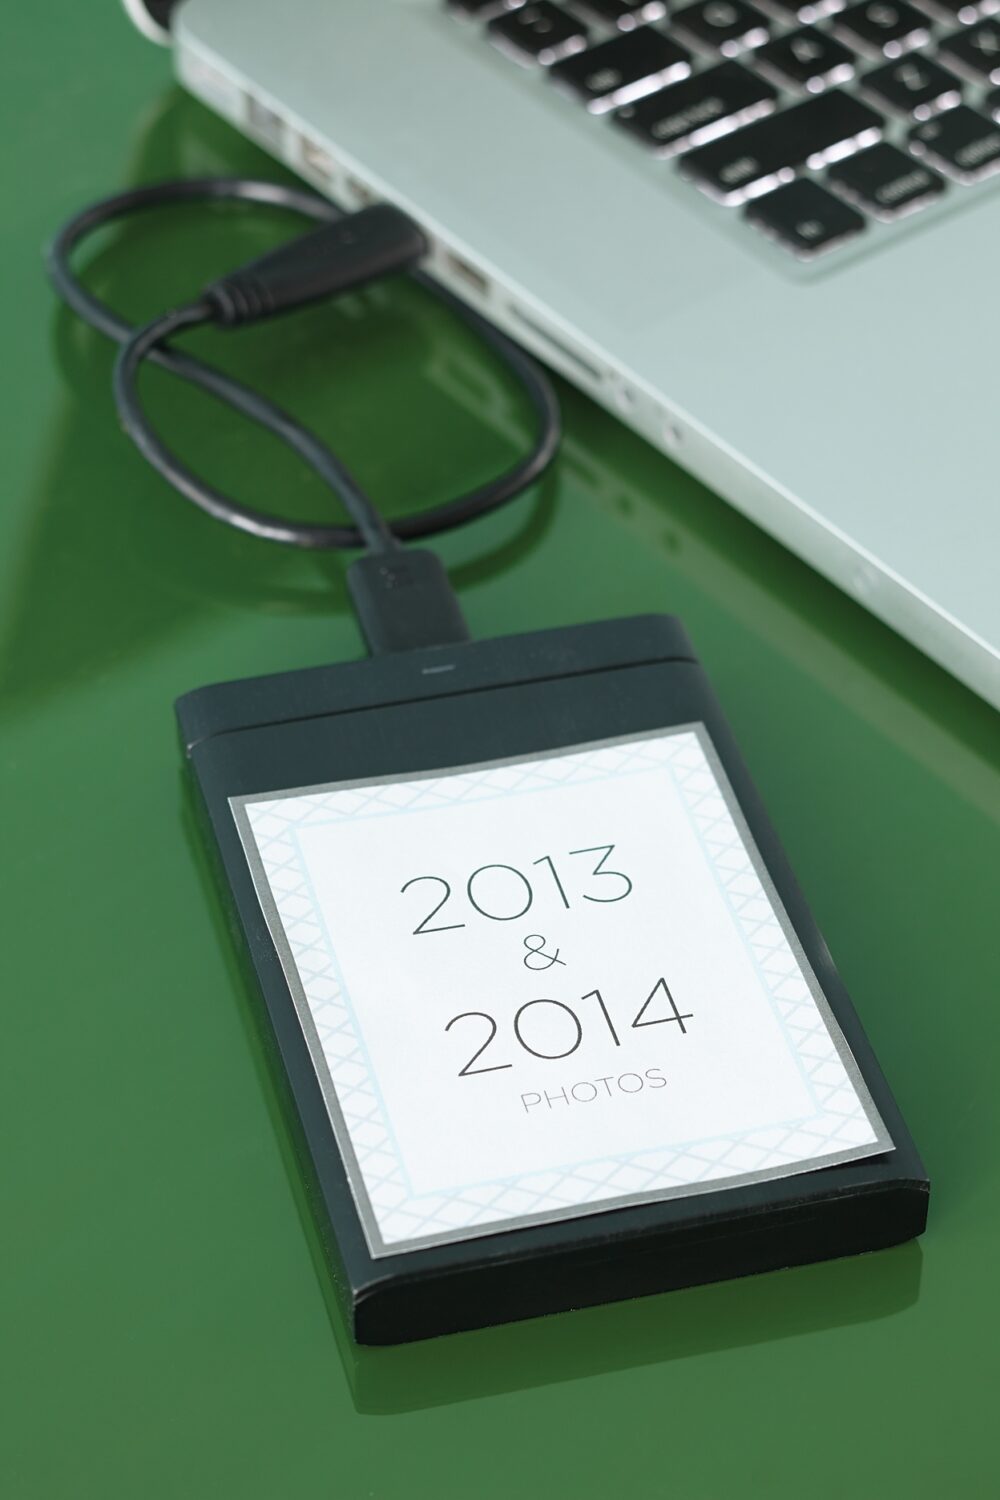
Back up
Beware: Computers fail and operating systems change. If you don’t back up your digital pictures, the day may come when they will be irretrievably lost. Duplicates of images should be stored away from your computer. It is best to use an external hard drive for storage; they are relatively cheap and reliable.

© Grey Dog Media, LLC 2025. All Rights Reserved.
We want to keep in touch.
Don’t miss out on the latest Life:Beautiful updates, promotions and news.